
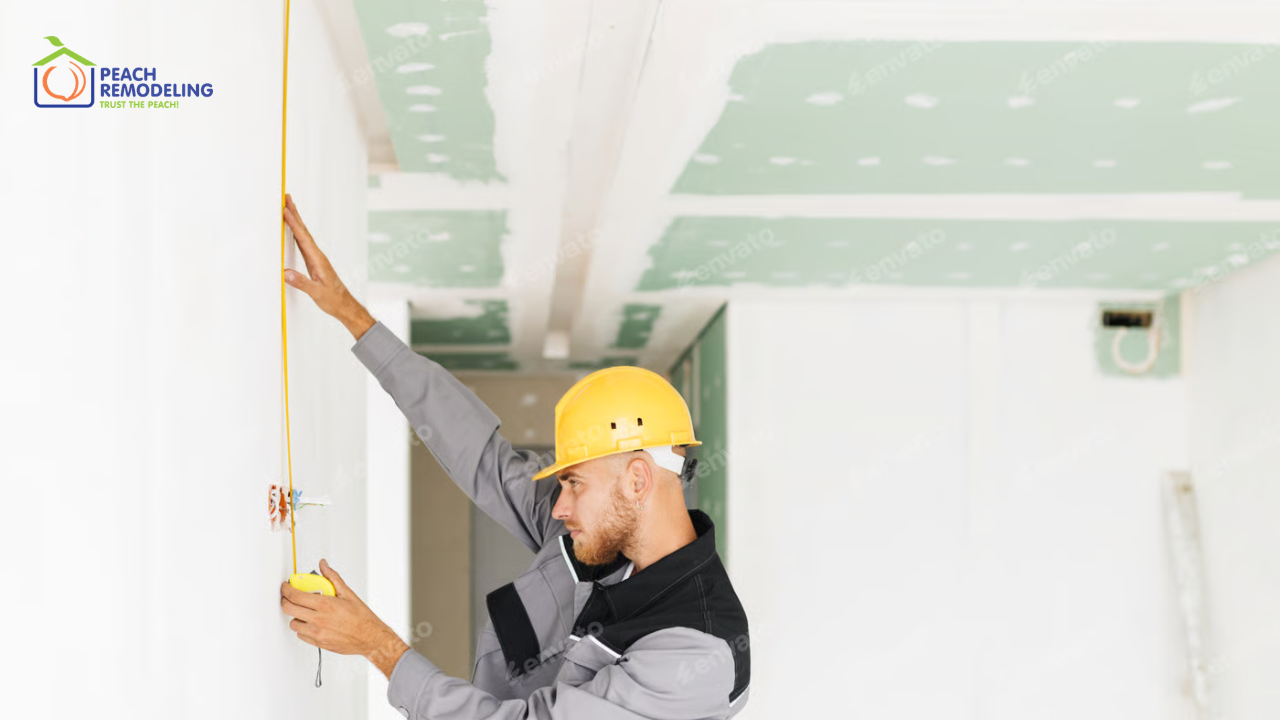
The correct way to install drywall is to measure carefully, secure panels properly, use the right screw spacing and finish joints smoothly to create strong, even walls. Proper installation helps prevent cracks, uneven surfaces and future repair problems. Drywall installation process remains one of the most common interior construction projects in American homes in 2026. Modern building standards now place greater focus on moisture resistance, precise fastening and smooth finishing for long-lasting wall performance.
Step 1: Prepare the Wall Area
Before installing drywall, the wall framing must be checked carefully.
Inspect the framing for
- Crooked studs
- Moisture damage
- Loose framing
- Electrical or plumbing obstacles.
Clean framing helps drywall panels sit flat against the wall surface. Construction experts also recommend confirming insulation and electrical work before covering walls.
Step 2: Measure and Cut Drywall Panels
Drywall sheets are usually available in standard sizes such as
- 4 x 8 feet
- 4 x 10 feet
- 4 x 12 feet.
Accurate measurements reduce waste and improve installation quality.
To cut drywall
- Mark the measurement line
- Score the front paper with a utility knife
- Snap the sheet carefully
- Cut the back paper cleanly.
Professionals recommend minimizing seams whenever possible because fewer joints usually create smoother finished walls.
Step 3: Position the Panels Correctly
Large drywall sheets should be lifted into position carefully to avoid cracking. Ceiling panels are usually installed first, followed by wall panels.
Most installers place drywall horizontally on walls because it
- Reduces seams
- Improves wall strength
- Creates smoother finishes.
| Modern wallboard installation tips also recommend leaving a small gap near floors to prevent moisture absorption from concrete surfaces. |
Step 4: Use Proper Screw Spacing
Correct drywall screw spacing is extremely important for strong installation. Screws should sit slightly below the drywall surface without tearing the paper layer. Improper screw depth can weaken the panel and create finishing problems later.
Most 2026 drywall installation standards recommend
- Screws every 8 inches on ceilings
- Screws every 12 to 16 inches on walls.
| According to current gypsum industry recommendations, overdriving screws may reduce holding strength and damage drywall integrity. |
Step 5: Cut Openings for Fixtures
After panels are attached, openings are cut for
- Electrical outlets
- Light switches
- Windows
- Air vents
- Plumbing fixtures.
Drywall saws or rotary cutting tools help create accurate openings. Careful cutting prevents large gaps that become difficult to hide during finishing.
Step 6: Start the Taping Process
The next step is drywall taping and mudding, which helps hide seams between drywall sheets.
This process involves
- Applying joint compound
- Embedding drywall tape
- Smoothing the surface
- Adding multiple finish coats.
Paper tape and fiberglass mesh tape are both commonly used in modern drywall projects. Paper tape often provides stronger seam reinforcement for flat joints.
Step 7: Apply Joint Compound Smoothly
- Joint compound, also called mud, is spread over seams and screw heads. The first coat fills joints and covers tape.
- Additional coats are then applied wider and smoother to blend the seams into the wall surface. Proper feathering helps avoid visible ridges after painting.
- Experts recommend allowing each coat to dry fully before sanding or adding another layer.
Step 8: Sand the Surface Carefully
After the compound dries completely, sanding creates a smooth finish. Over-sanding should be avoided because it can damage drywall tape or create uneven surfaces.
Fine-grit sanding sponges or drywall sanders help remove
- Rough edges
- Excess mud
- Surface lines.
| Dust control has become increasingly important in modern drywall projects because sanding dust spreads easily through homes. |
Step 9: Complete the Drywall Finishing Process
The drywall finishing process includes final smoothing, inspection and preparation before painting. A properly finished wall should appear smooth under both natural and artificial lighting.
Professional finishers carefully check for
- Surface imperfections
- Visible seams
- Uneven textures
- Nail or screw marks.
| Modern LED lighting often makes wall imperfections more visible, so smooth finishing is especially important in 2026 homes. |
Step 10: Prime Before Painting
Fresh drywall should always be primed before painting. Skipping primer may cause uneven paint appearance and visible patch marks.
Primer helps
- Seal drywall surfaces
- Improve paint adhesion
- Create even color coverage
- Reduce paint absorption.
| Paint manufacturers like Sherwin-Williams continue recommending drywall-specific primers for the best results. |
Common Drywall Installation Mistakes
Several installation mistakes can lead to future wall problems.
Poor Fastening
Incorrect screw placement may cause loose panels or visible fastener marks.
Weak Joint Finishing
Poor seam finishing often creates visible cracks or uneven walls after painting.
Improper Moisture Protection
Bathrooms, basements and kitchens may require moisture-resistant drywall products.
Rushed Sanding
Uneven sanding can leave visible ridges and rough textures.
Moisture-Resistant Drywall Is More Common in 2026
Modern construction projects increasingly use moisture-resistant drywall in high-humidity areas.
These products help reduce mold risks in
- Bathrooms
- Laundry rooms
- Basements
- Kitchens.
Green board and mold-resistant drywall products continue growing in popularity across residential construction projects.
Professional vs DIY? Correct Way to Install Drywall
Small drywall repairs are manageable for many homeowners, but full-room installation may require professional experience. Large drywall sheets can also be difficult and unsafe to lift without proper equipment.
Professional installers usually complete projects faster and achieve smoother finishes, especially for ceilings and large spaces.
Conclusion
Correct drywall installation requires careful measuring, secure fastening, smooth finishing and proper surface preparation. Following the right installation steps helps create durable walls that look clean and professional for many years. By using proper techniques and quality materials, homeowners can reduce future cracks, uneven surfaces and repair costs.
FAQs
What is the standard screw spacing for drywall?
Most drywall installations use screws every 12 to 16 inches on walls and every 8 inches on ceilings.
Should drywall be installed horizontally or vertically?
Most professionals install drywall horizontally because it reduces seams and improves wall strength.
Why is primer important before painting drywall?
Primer seals drywall surfaces, improves paint adhesion and helps create a smooth, even finish.