
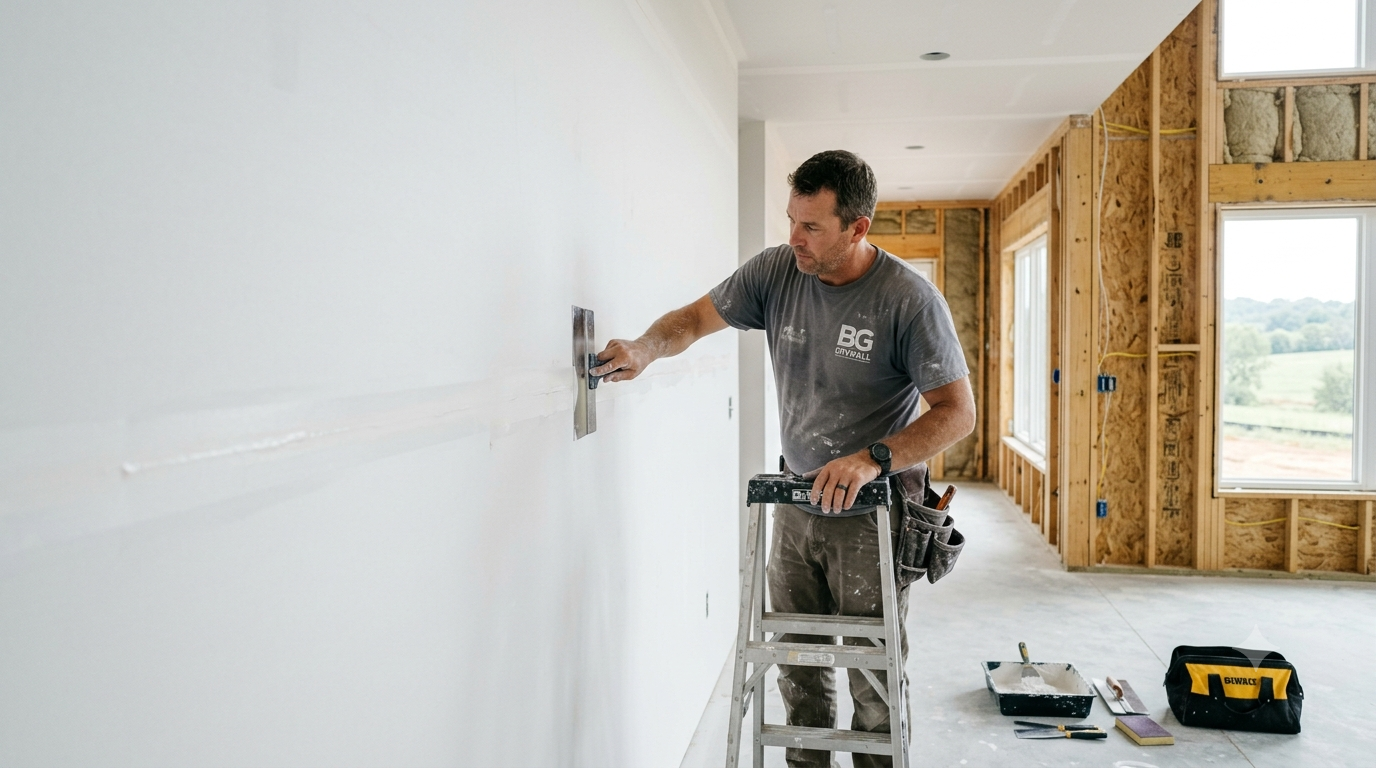
The seemingly simple surface covering behind that coat of paint in your home, your drywall, is the underlying foundation of its interior finish. Whether a room was added on, a house was built custom from scratch, or simply a facelift was in order, your walls and ceilings likely exist thanks to drywall installation, the essential canvas on which interior design comes to life. Often overlooked, until it becomes visible with a crooked seam or cracked corner, even when concealed beneath several layers of fresh paint, drywall is often the biggest challenge when it comes to achieving those flawless, seamless interior spaces.
Whether you are managing a custom build, a remodeling project, or a room addition, drywall doesn’t need to be a battleground of wavy walls, popping nails, and omnipresent dust that covers your furniture. Once you understand that drywalling is not just slapping on material, but a four-phase engineered structural application that utilizes a mix of precision construction techniques and architectural materials to form perfectly flat, perfectly soundproofed, structurally and acoustically sound walls, you are ahead of the curve in achieving the ultimate positive result in terms of aesthetics, performance, and your bottom line.
Let’s break down the actual construction process, the building code requirements you need for drywall installation, and why professional installation helps protect your construction investment.
A Structural Blueprint for the Perfectly Flat Drywall Installation
An absolutely seamless wall surface requires a meticulous, structured process that, while seemingly simple on a surface level, needs the skill of experienced craftspeople. Professional drywall installation follows this four-phase construction methodology.
Phase 1: Initial Framing Inspection
Before the first sheet of drywall is moved or attached, your building’s wooden or steel framing structure is assessed. Using long, straight carpentry levels, framing specialists will scan along the horizontal and vertical plane of studs, making sure they are plumb and perfectly straight without bowed crowning or twisting, as even a slight warp of 1/8” will cause an imperfection in the drywall when it’s installed.
Structural fasteners that may have protruded too far, loose metal framing, or protruding nails must be addressed, as they’ll cause the wall to buckle during installation or after drywall finishing is completed. It’s also important to ensure that plumbing lines, electrical boxes, structural support beams, and insulation are set back securely behind the studs.
Phase 2: Hanging Drywall Panels
This heavy-duty work demands a strategic sequence of movements and geometrical layout to optimize strength and finish quality.
- First ceilings, then walls: When hanging drywall sheets to cover ceiling structure, drywallers start on the ceiling, positioning wall panels immediately below these and sliding them tight against the ceiling panels to create what structural engineers call a “dead-load” ledge that will support the heavy corner sections.
- Horizontal application preferred on walls: Most professional contractors prefer to hang drywall on wall surfaces horizontally rather than vertically, for two key structural advantages: reducing the total lineal footage of joints by nearly 25 percent, and putting most major joints around the typical “waist height.”
- Careful screw placement: Professionals use a special, powered screw gun with a magnetic depth-clutch collar that drives the special coarse-thread, heavy-duty drywall screw to a perfect, half-turn deep that countersinks into the drywall board and breaks the paper on purpose, to create a subtle recess without damaging the face paper, which results in what professionals call a structural dimple.
Phase 3: Taping and Mudding for the Seamless Joint
The truly fine-tuned portion of the drywall process begins now, transforming the layered panels and gaps into a solid, flat surface. Drywall’s raw edges are recessed in the factory, but joints require special attention to blend them into one unified surface using water-based joint compound or, as it’s commonly called, “mud.”
- Fill, then tape: Joint compound fills the seams, then strips of paper tape or Fiberglass mesh tapes are embedded in wet mud and smoothed over the gaps between drywall panels, acting like an internal stitching for the new wall surface.
- Progressive mud layers: After each layer of mud is allowed to dry fully (sometimes overnight, or by application of heated forced air if speeds need to be maintained for a tight deadline), additional, successively wider blades (starting at 6”, 8”, 10”, and ending at 12” for the finishing layers) are used to carefully “feather” or spread the edges of the mud thin and far across the face of the drywall panel.
Phase 4: Drywall Sanding and Priming
Once the final layer of joint compound has thoroughly dried and adhered to the structure behind it, workers carefully use very fine-grit sandpaper, or more typically dust-control sanding systems with vacuums directly connected to the sanding apparatus, to knock down and smooth any remaining ridges or high points left by the finishing knives.
The critical last step is to apply a PVA-based primer (a Polyvinyl Acetate primer that penetrates and seals both raw drywall Paper and fully-cured joint compounds with the same absorption characteristics). Applying this necessary barrier coat prevents a phenomenon that even DIYs often run into, called “joint flashing.” This happens when differing levels of absorption between the board material and filler cause a joint to remain more visible than the rest of the painted surface for many years.
Avoid Costly Re-Builds with Quality Craftsmanship
Proper installation techniques are heavily reliant on muscle memory, an innate feel for compound consistency, a tactically illuminated perspective that reveals every flaw, and a deep understanding of its chemistry.
That’s precisely why attempting to cut corners on professional drywall installers-or tackle an entire home DIY project yourself-is often one of the most financially devastating and time-consuming mistakes a property owner can make. DIYers and inexperienced contractors almost inevitably create “ghost” lines, cracks along internal and external corner seams, sagging, and an unfixable visual appearance that simply gets coated again and again.
Correcting poor drywall work means removing it entirely and rebuilding, doubling the project’s cost, instead of doing it right the first time.
Why Hire Professionals for Installing Drywall?
Hiring a licensed and insured drywall expert guarantees compliance with all local building codes and regulations, superior fire-resistance properties, acoustical performance, and a flawless surface that satisfies a “Level 4” or “Level 5” finish, significantly increasing your home’s value for years to come. They offer reliable and durable drywall and sheetrock installation. They have the experience to identify the hidden cracks, ensuring a smooth drywall repair process.
Conclusion
The drywall installation process is much more than merely hanging boards to cover studs; it’s an engineering precision that underpins your home’s aesthetic appeal, fire safety, and overall thermal efficiency. While it may look easy to cover gaps and smooth planes in drywall, the years of practice it takes to master each of the techniques, from the careful measurement and selection of the right material type to the consistent application of plaster and expert sanding, is unmatched. Investing in high-performance drywall materials, proper surface preparation, and skilled professionals is key to establishing a beautiful and durable foundation for all of your interior design choices.
FAQs
What is the difference between screws and nails for drywall installation?
While nails were traditionally common in older homes, modern professionals use coarse-thread drywall screws.
Why is drywall hung on the ceiling before the walls?
Hanging ceiling sheets first allows the wall sheets installed immediately below them to butt firmly against the top corner.
What do the different “Levels” of drywall finish mean?
Drywall finishes are rated from Level 0 (basic hanging, no mud) to Level 5 (the highest premium finish). A standard residential wall requires a Level 4 finish (three coats of mud over joints), while spaces exposed to intense conditions.
Can you install standard drywall in a bathroom?
No. Standard drywall absorbs moisture like a sponge, leading to rapid mold growth and structural warping.
How long does the entire drywalling process take for a standard room?
The physical hanging of the boards can often be completed in a few hours, but the complete taping and mudding process typically takes 3 to 5 days.